Ceramics can be converted into great pieces of art if colored. As acrylic paint is very versatile and sticks to almost anything, you might wonder how to fix acrylic paint on ceramic?
Ceramic that is glazed or unglazed can be painted with acrylic paint. For better results choose bisque ceramic (unglazed ceramic) and prime with gesso and let dry overnight. Then paint the ceramic piece as you would on a canvas. Few coats of paint might need depending on how smooth the surface is.
Finishing the artwork is equally important as painting. Applying a top coat on the finished bisque ceramic piece will give it a glossy, glazed look.
Does acrylic paint stay on ceramic?
Acrylic paint stays on ceramic when painted on unglazed or bisque ceramic that is primed with acrylic gesso. Finishing the painted piece with a clear topcoat will protect, add sheen and enhance the colors of the finished product. Curing the finished product for 2 weeks will fully harden the paint.
There are different types of ceramics such as greenware, bisque, and glazed ceramic. Greenware is unfired ceramic that is fragile. You should not use them unless you are going to fire them in a kiln. The next type of ceramic is bisque. These are fired greenware ceramics or fired ceramic once in a kiln.
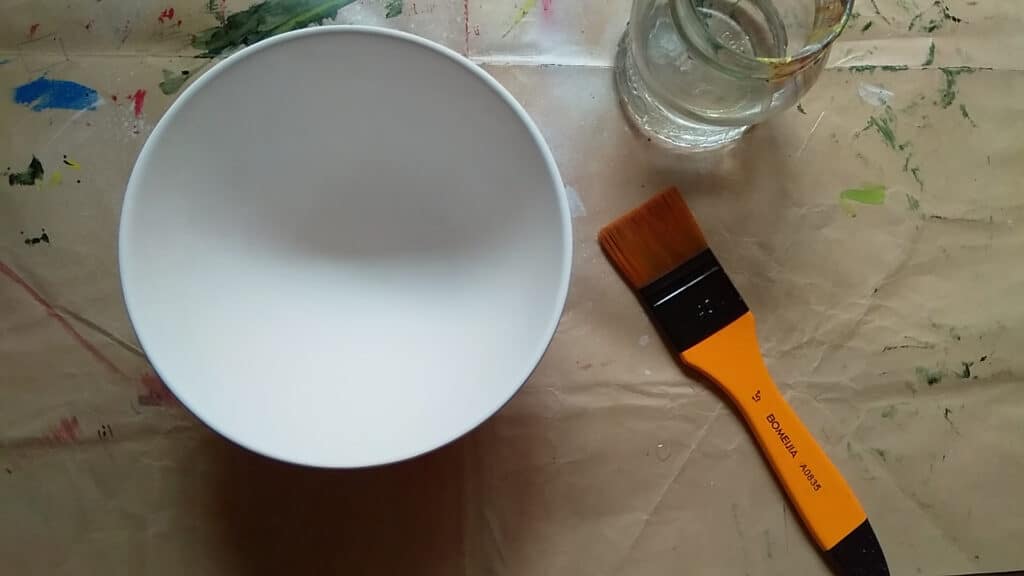
Bisque ceramics are both porous and hard. They are not fragile like greenware ceramic. These are the perfect ceramic for your art project. As the ceramic is porous, paint can be absorbed into the ceramic, especially gesso.
Finally one of the most important steps is top coating. You can use an industrial or artist clear acrylic coating. After finishing the product let it cure for at least one or two weeks. That is when the paint film fully hardens and sticks to the surface well.
Note
If you use acrylic paint to paint a ceramic, it will not be suitable for eating or drinking (not a functional piece). You should only use acrylic painted ceramic for decorative and display purposes only.
How do you make acrylic paint stick to glazed ceramic?
Glazed ceramic is extremely harder to work with acrylic paint. However, you can prepare the surface by sanding and priming with industrial primer or acrylic medium. Then paint over. Finished the artwork with an acrylic clear coating. Only paint glazed ceramic for craft or decoration pieces.
If you want to stick acrylic paint on glazed ceramic, then use the same method of sticking acrylic paint on glass except for etching the ceramic surface. I have written a whole article about sticking acrylic paint on glass. You can read it from the following link: How to stick acrylic paint on glass (and keep it off).
Opinion on baking acrylic paint on glazed ceramic…
There are many resources saying you can heat acrylic paint on glazed ceramic to stick it permanently. But acrylic paint is not made for melting due to high heat. By heating acrylic paint you essentially heat plastic which is extremely unhealthy. You cannot do this in an oven where you cook food.
You need a separate oven just to heat the painted ceramic piece or you need to use a kiln. Again I am saying it is very unhealthy. The best way to create an art piece on ceramic is using bisque ceramic. Or you can simply apply ceramic glazes on the bisque ceramic and fire it in the kiln to create a glazed ceramic piece that you can eat and drink from.
How do you fix acrylic paint on ceramic?
To fix acrylic paint on ceramic you need a few materials. Below I have included the materials you will need to paint ceramic with acrylics. These are links to products with the best deals and high quality on Blick Art Materials.
Materials you will need
- Ceramic bisque
- Acrylic paint: Liquitex Basics Acrylic Paints and Sets
- Acrylic coating: Krylon Crystal Clear Acrylic Coatings
- Acrylic Brushes: Princeton Catalyst Polytip Bristle Brushes
- Palette: Masterson Sta-Wet Handy Palette
You can stick acrylic paint onto a ceramic piece easily when you know the right process. The hard part is creating the artwork. Below I have included a step-by-step guide on painting ceramic bisque with acrylic paint.
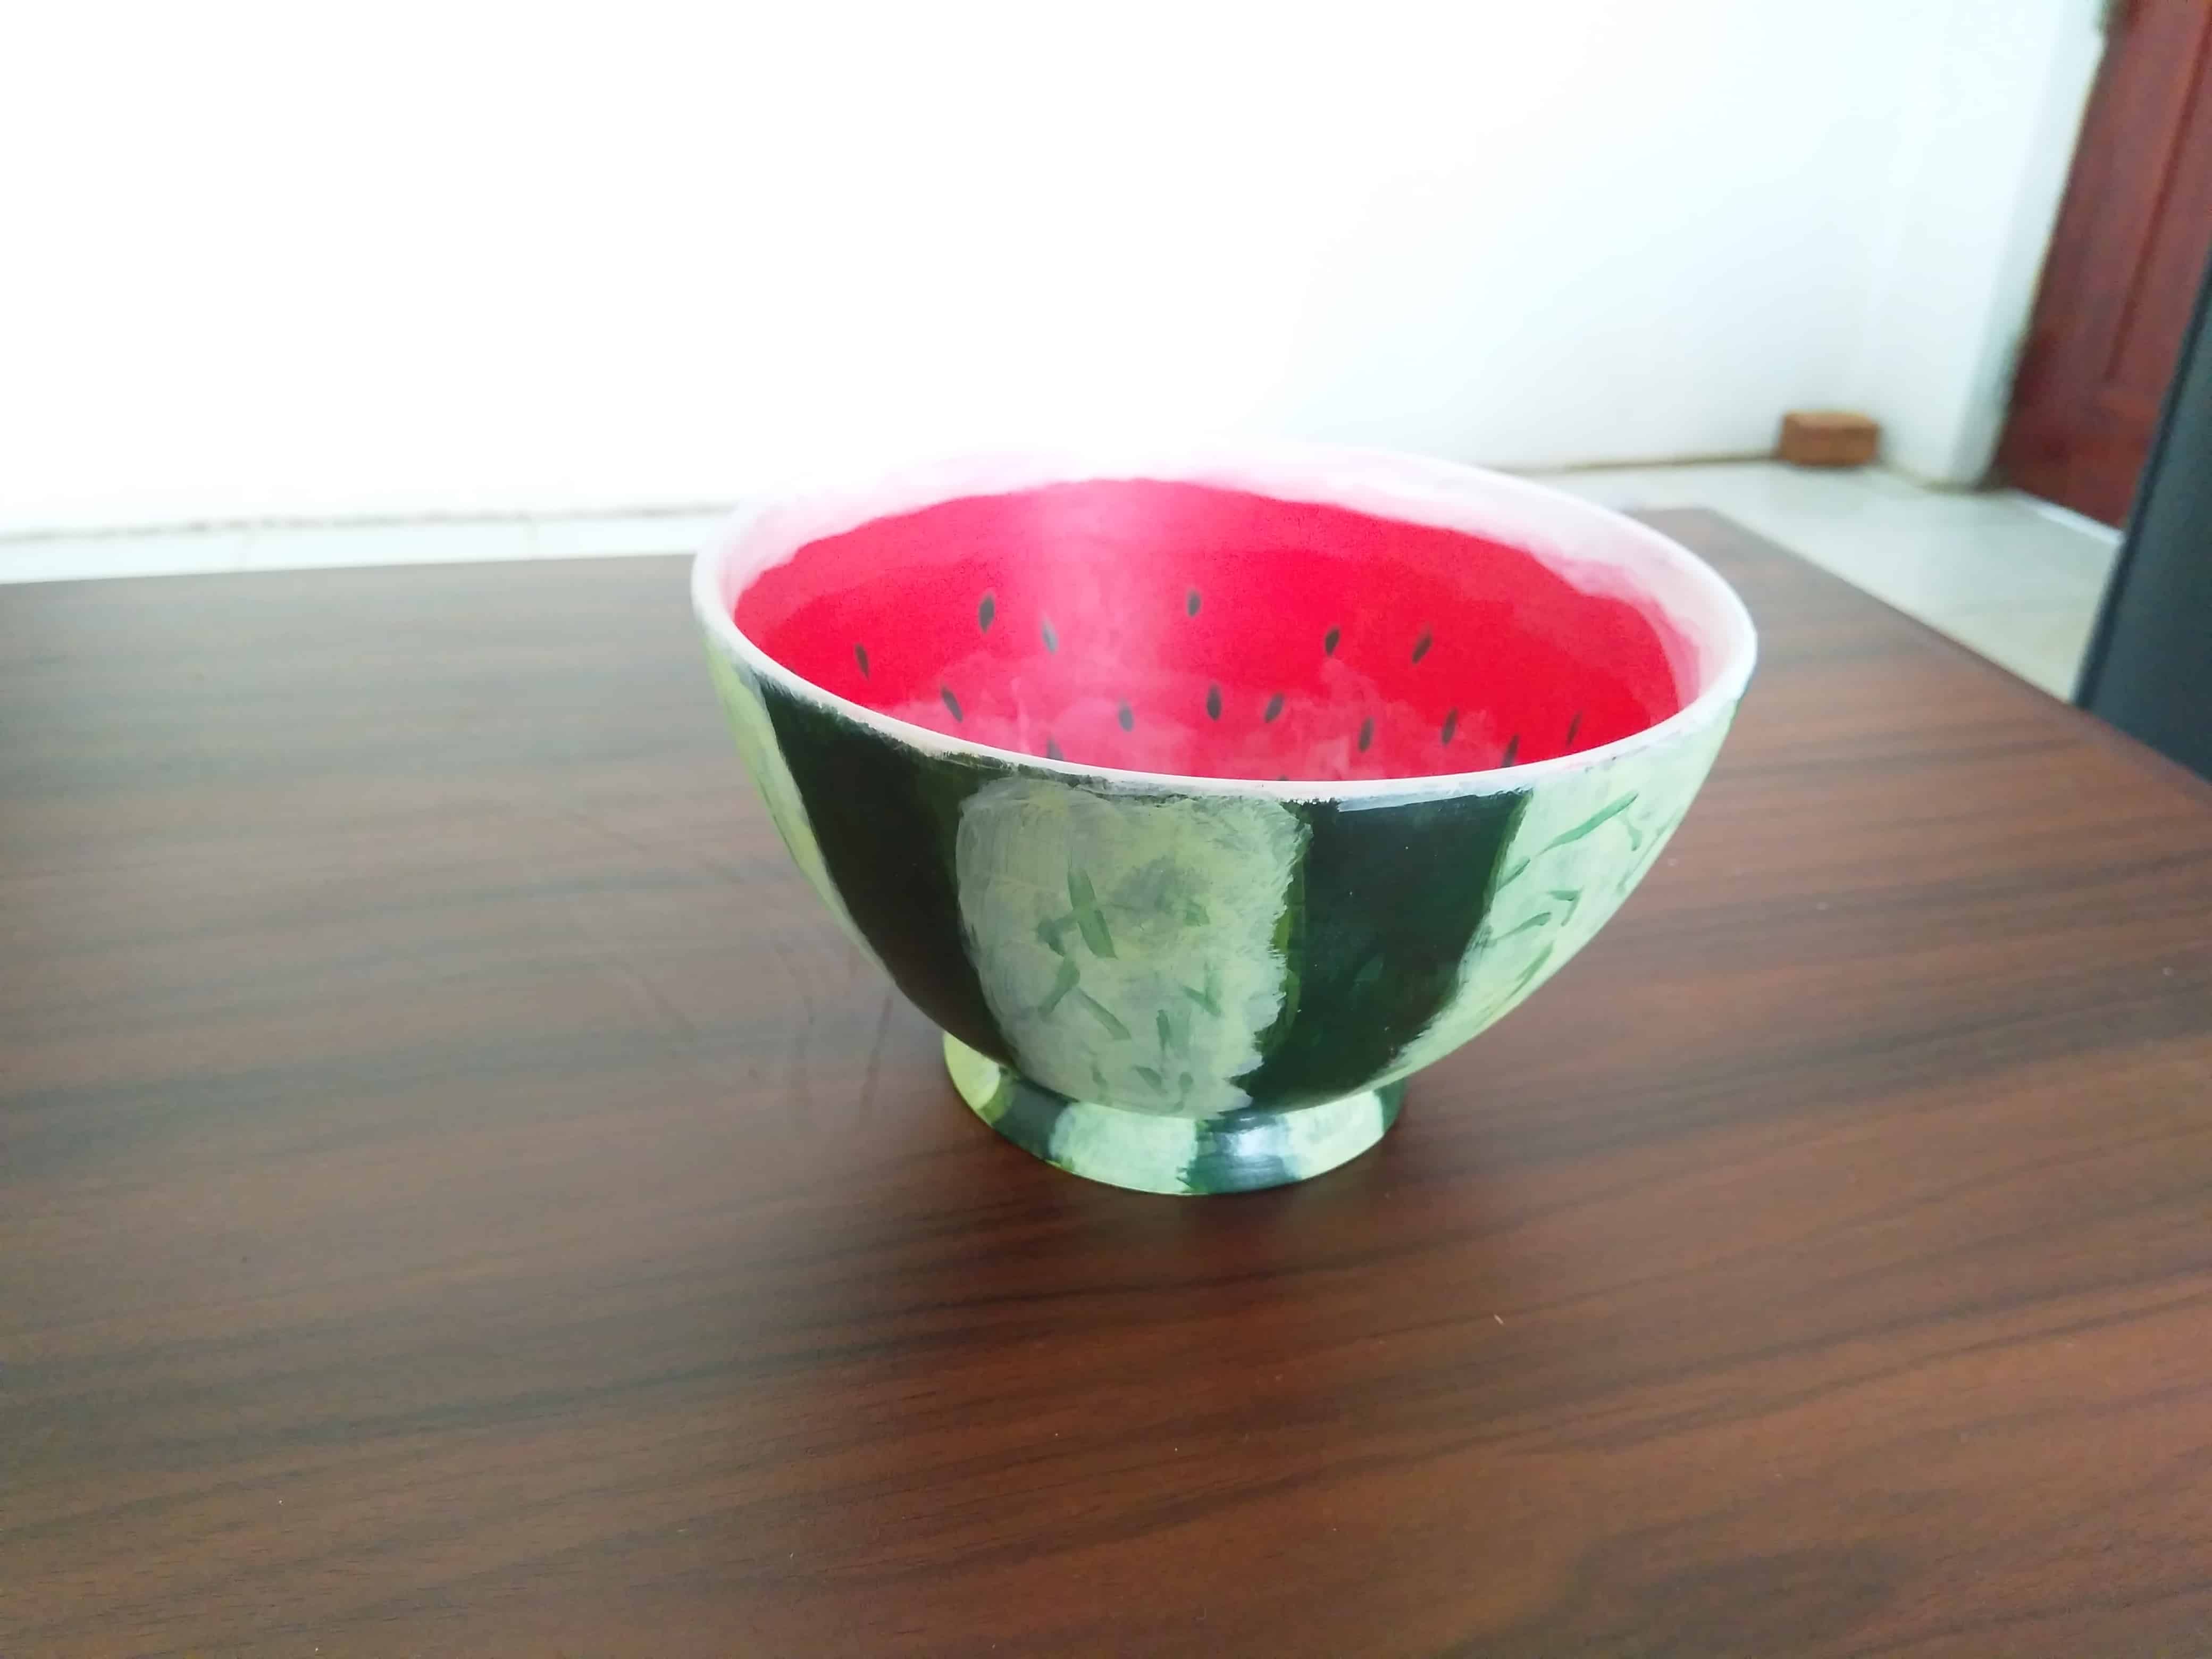
I have tested this method on a ceramic bisque bowl to create a watermelon design. Here I have included the link to the video that shows the same steps I describe below. It will help you as a better visual guide.
Step 1: Prepare the workspace
Before beginning, any art project preparing the workspace is very important. Start by covering the working area with a large piece of paper or polythene. This will prevent any acrylic paint smudges from getting on the cloth, table, or carpet.
Take all your necessities near your working area. You can find this information in the ‘materials you will need’ section.

Step 2: Prime with gesso and let dry overnight
How do you prep ceramic for acrylic paint? Unglazed ceramic can be prepared for acrylic painting by simply applying gesso on the surface, like on canvas. You can apply 1 to 2 coats of gesso. Let the gesso dry overnight and start painting. Choose a gesso with the appropriate tooth, otherwise, it will be difficult to cover ceramic with paint.
Priming with gesso is important as bisque ceramic is very porous. If you directly applied paint to it, the paint will be absorbed into those pores. The application will be hard and not smooth. Therefore, gesso is very important.
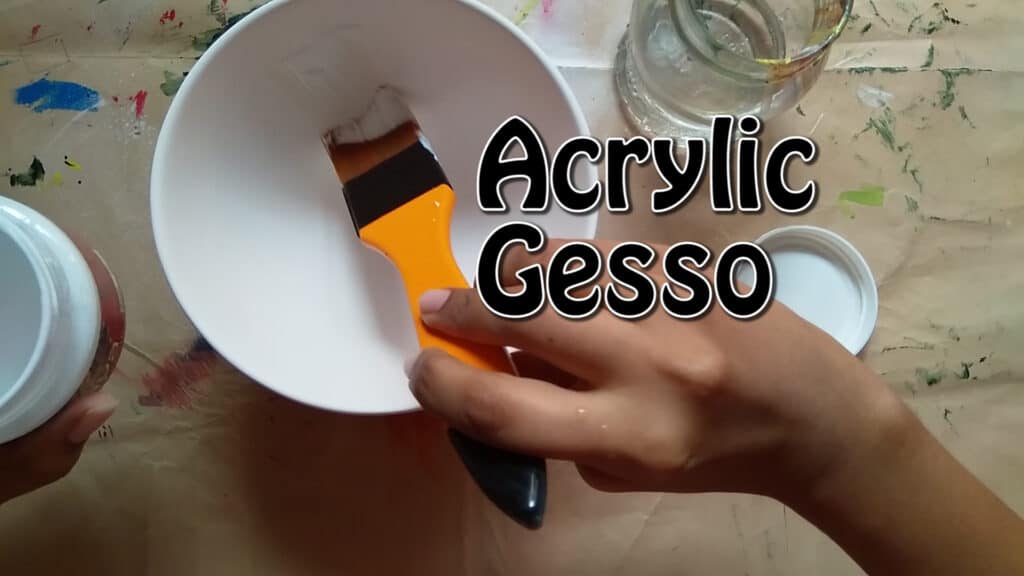
After applying gesso you need to let it dry overnight. If you start painting right away, both paint and gesso will peel off. After drying overnight, you will realize that the chalky feel of the bisque surface is gone and instead there is a smoother surface that is easier to work with.
Because of gesso, the paint will smoothly glide over the bisque ceramic surface. However, you need to use a good gesso that has sufficient teeth for the paint can stick. Otherwise, it will be cumbersome to paint on top. One of the best acrylic gesso is Liquitex Acrylic Gessos. You can follow my link to view it on Blick Art Materials.
Step 3: Apply paint (single or multiple coats)
In this step, you need to get started with painting. start with any design in your head, or you can browse through Pinterest for more ideas. start by painting a colored ground on the ceramic. It will cover the white surface of the ceramic well and the next painting layers will pop.
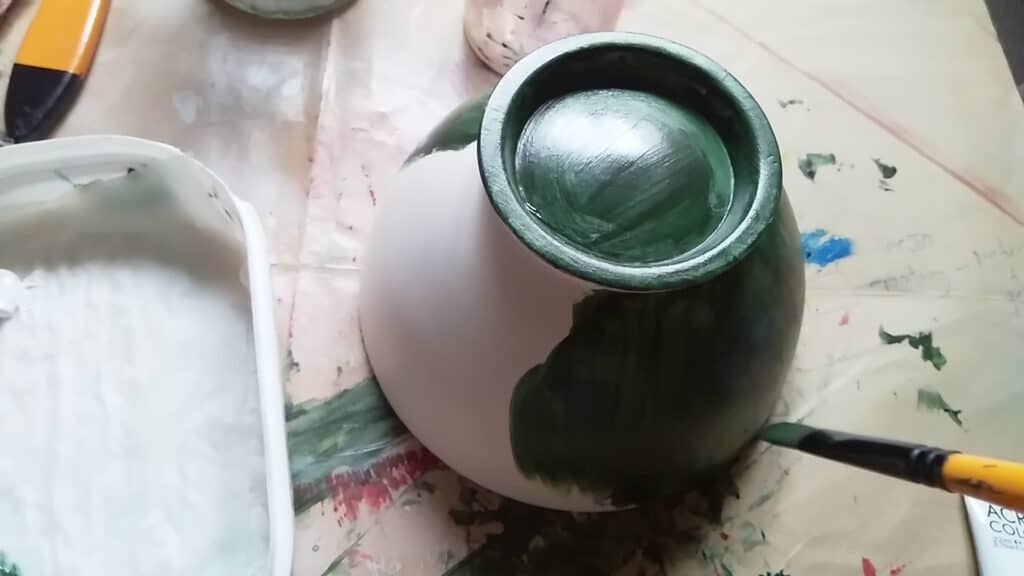
The ground painting layer can be applied in multiple layers until the white surface is covered completely. Let each layer of paint dry before applying the next layer. This will prevent peeling off the paint layers as applied. If you want to speed up drying, use a hairdryer. This way you can quickly build up layers.
It will take some time for acrylic paint to dry on ceramic as it is a rigid surface, unlike canvas.
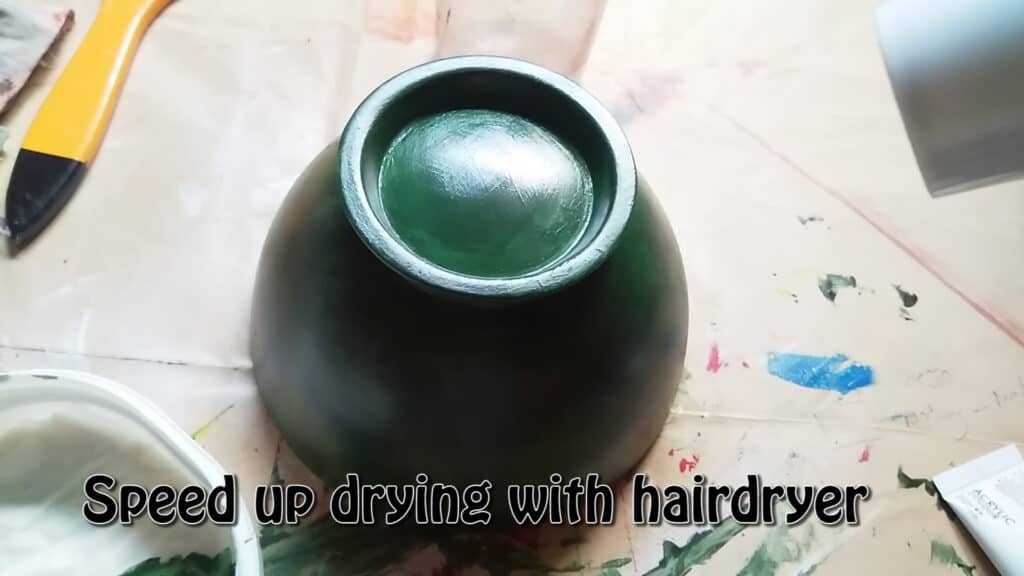
After you have done painting the piece, let the paint cure for at least a week or more before applying a topcoat. Otherwise, the painting will be ruined and blisters will happen due to trapped moisture from paint film trying to escape through the clear coating.
Step 4: Finish with acrylic clear coating
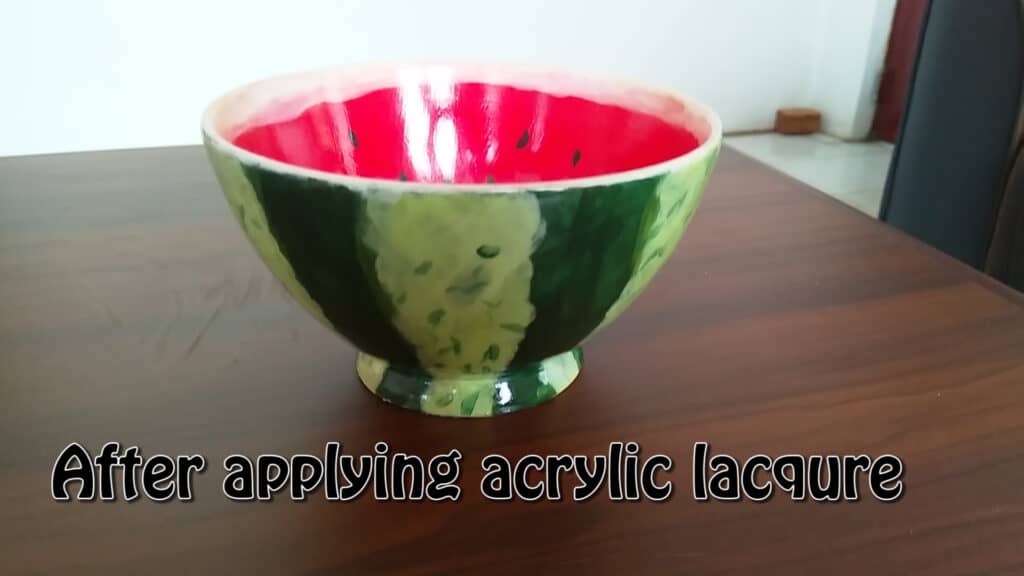
Apply a clear acrylic coating as the finishing. Make sure to cure the painting for more than a week. Applying an acrylic clear coating will add shine and glossy finishing just like with glazed ceramic. You can use an acrylic clear coating or acrylic lacquer for this purpose.
My favorite brand when it comes to clear acrylic coating is Krylon. You can also use a clear acrylic lacquer. These are industrial or automotive products. Acrylic lacquers apply a thick coating of clear acrylic. It resembles more of a ceramic glaze.
However, the acrylic lacquers may not be fully clear, there can be a slight brown tint. You need to be careful when applying acrylic lacquers over paintings with white areas. I used acrylic lacquer for my project. But you can choose an artist’s clear acrylic coating from Krylon.
Step 5: Let the final piece cure for 1 to2 week
After completing all the above steps you need to cure the final piece for 1 to 2 weeks. This will ensure the bonding of paint and top coating onto the ceramic well. Before curing the art piece, the paint will be scratchy. After fully curing the paint will harden, stick well to the surface, and will be less scratchy.
The curing period can change depending on the humidity. In high humid environments, you will need to wait for 2 to 3 weeks to cure the painting.
I have also written an article about what acrylic paint will not stick to. You will know what to avoid when it comes to sticking acrylic paint. Also how to stick acrylic paint on many other surfaces and keep it off.
Conclusion
Ceramic painting with acrylic is easy if you choose the right type of ceramic and the method. Bisque ceramic is the best for these art projects. Glazed ceramic can also be painted with acrylic paint by heating in an oven. As this is extremely unhealthy I highly recommend you avoid glazed ceramic and use bisque ceramics. After applying a top coating the piece will look the same as a glazed one.
FAQ
What kind of paint will stick to ceramic?
Ceramic glazes, enamel paints, and acrylic paint stick to ceramic. The best option is using ceramic glazes where you can make functional ceramic pieces. Enamel or acrylic paint can be used for decorative or display ceramic art pieces, that have more detailed painting compared to acrylic glazes.
Will acrylic paint adhere to ceramic tile?
Acrylic paint stick to bisque ceramic tiles, after priming with gesso and letting it dry overnight. Seal the finished work with clear acrylic coating or clear acrylic lacquer. However, acrylic paint will not stick to glazed ceramic tiles. It is unhealthy to heat to cure the paint onto the glazed ceramic.
How do you seal acrylic paint on unglazed ceramic?
Acrylic painting on unglazed ceramics can be sealed with artist acrylic clear coating or acrylic lacquer. Acrylic lacquer is thicker compared to acrylic clear coating. Both sealers provide protection, shine, and a glazed look to the ceramic piece. These are only suitable for decorative or display ceramic pieces.

