
Acrylic paint is very versatile. It can stick to almost any surface. Acrylic plastic which is known as plexiglass is a perfect material to paint with acrylics. Some of the special uses of acrylic plastic with acrylic paint are creating 3D art and reversible art pieces. But you might wonder if acrylic paint sticks to acrylic plastic?
Acrylic paint sticks to acrylic plastic that has tooth such as P95 acrylic and frosted plexiglass. If using clear acrylic plastic, sand the surface to provide tooth. Then prime the acrylic plastic and apply the paint. To protect the artwork seal the acrylic painting with an acrylic clear coating.
Acrylic plastic is an unusual yet unique surface to create artwork. If you follow the correct steps to stick acrylic paint on acrylic plastic, you will be able to create artwork that is not possible to create with other surfaces.
Can you put acrylic paint on acrylic?
You can put acrylic paint on acrylic plastic after preparing the surface by sanding and priming. You can create 3D artwork with multiple layers or just paint the top of acrylic plastic with acrylic paint. Seal the finished artwork with an acrylic clear coat to prevent it from peeling.
If you are thinking about painting acrylic paint over another acrylic paint layer, it is possible. Layering acrylic paint is the main technique used in acrylic paintings. You can apply an acrylic paint layer on top once the bottom acrylic paint layer is dry to the touch within 20 to 30 minutes.
However, this article discusses how to stick acrylic paint on acrylic plastic which is also known as plexiglass. I took a piece of clear acrylic plastic and painted it with acrylic paint following a step-by-step process. Below is a video showing the final look of the acrylic plastic piece.
How do you get acrylic paint to stick to acrylic?
Sticking acrylic paint on acrylic plastic is a step-by-step process. If you follow all the steps below, you will be able to stick acrylic paint on acrylic plastic well. So let’s get started by gathering the material you need to stick acrylic paint on acrylic.
Gather the materials
Following is a list of materials you will be needing to stick acrylic paint on acrylic plastic.
- Clear acrylic plastic / acrylic P96/ frosted plexiglass
- Acrylic paint- student or artist grade
- Fine or very fine grit sandpaper (180-800 grit)
- Acrylic matte medium or matte gel medium
- Clear or white gesso
- Artist varnish or acrylic clear coating
One of the important things is choosing the right type of acrylic plastic for you. You can choose either a clear acrylic plastic, acrylic P96, or frosted plexiglass. However, they have different uses.
Acrylic clear plastic is suitable for normal opaque artwork and reversible artwork as well. Because these plastic panels are clear and are like glass. Frosted plexiglass is not good for reversible art because both sides of the plastic have matte, translucent, frosted finishing that has tooth for paint to adhere.
P95 acrylic plastic has matte finishing on one side of the plastic panel. It provides tooth for acrylic paint to adhere. It is best for normal opaque artwork as well as reversible artwork. This will be the best choice for artists who do not want to bother with sanding a clear acrylic panel. But P95 acrylic plastic may not be suitable to create 3D artwork that involves stacking acrylic plastic pieces on top of each other because of being opaque throughout the surface.
For this experiment, I used a clear acrylic plastic piece. Below I have outlined each step you need to go through to stick acrylic paint on acrylic plastic. Make sure you do it in a clean environment.
Step 1: Clean the acrylic plastic of dirt, dust, and oil
Dirt, dust, and oil cause poor adhesion of acrylic paint on acrylic plastic. Therefore clean it with soap and water first. Then wipe the plastic to remove water. Use rubbing alcohol with a paper towel to remove any remaining grease on the surface that may come from hands.
You can wear unpowdered latex or equivalent gloves for the rest of the project to prevent acrylic plastic from getting grease from your hand.

Step 2: Sand the acrylic plastic surface
As I have chosen a clear acrylic plastic, it needs to be sanded to provide tooth. I used 220 grit fine sandpaper. You can use any fine or very fine sandpaper between 180-800 grit. The higher the grit value, it will not create deep scratches on the acrylic plastic, providing an even sanded surface.
You can also use Scotch-Brite pads to lightly scuff the plastic surface. You can buy them as pads or find them attached to the kitchen sponges. They will not create deep scratches on the plastic surface. Instead, it will remove the sheen and the smooth plastic surface to create tooth.
Sand or scuff the acrylic plastic with circular motions to obtain a smoother surface. This step provides teeth for the paint and primer to grab on.
If you have chosen P95 acrylic plastic or frosted plexiglass then, no sanding is required, as these surfaces already have a matte surface with tooth.

Now you need to clean the sanded or scuffed acrylic plastic surface with a tack cloth. A tack cloth is a sticky cheesecloth that holds on to dust without moving dust around.
Step 3: Apply primer on the sanded surface
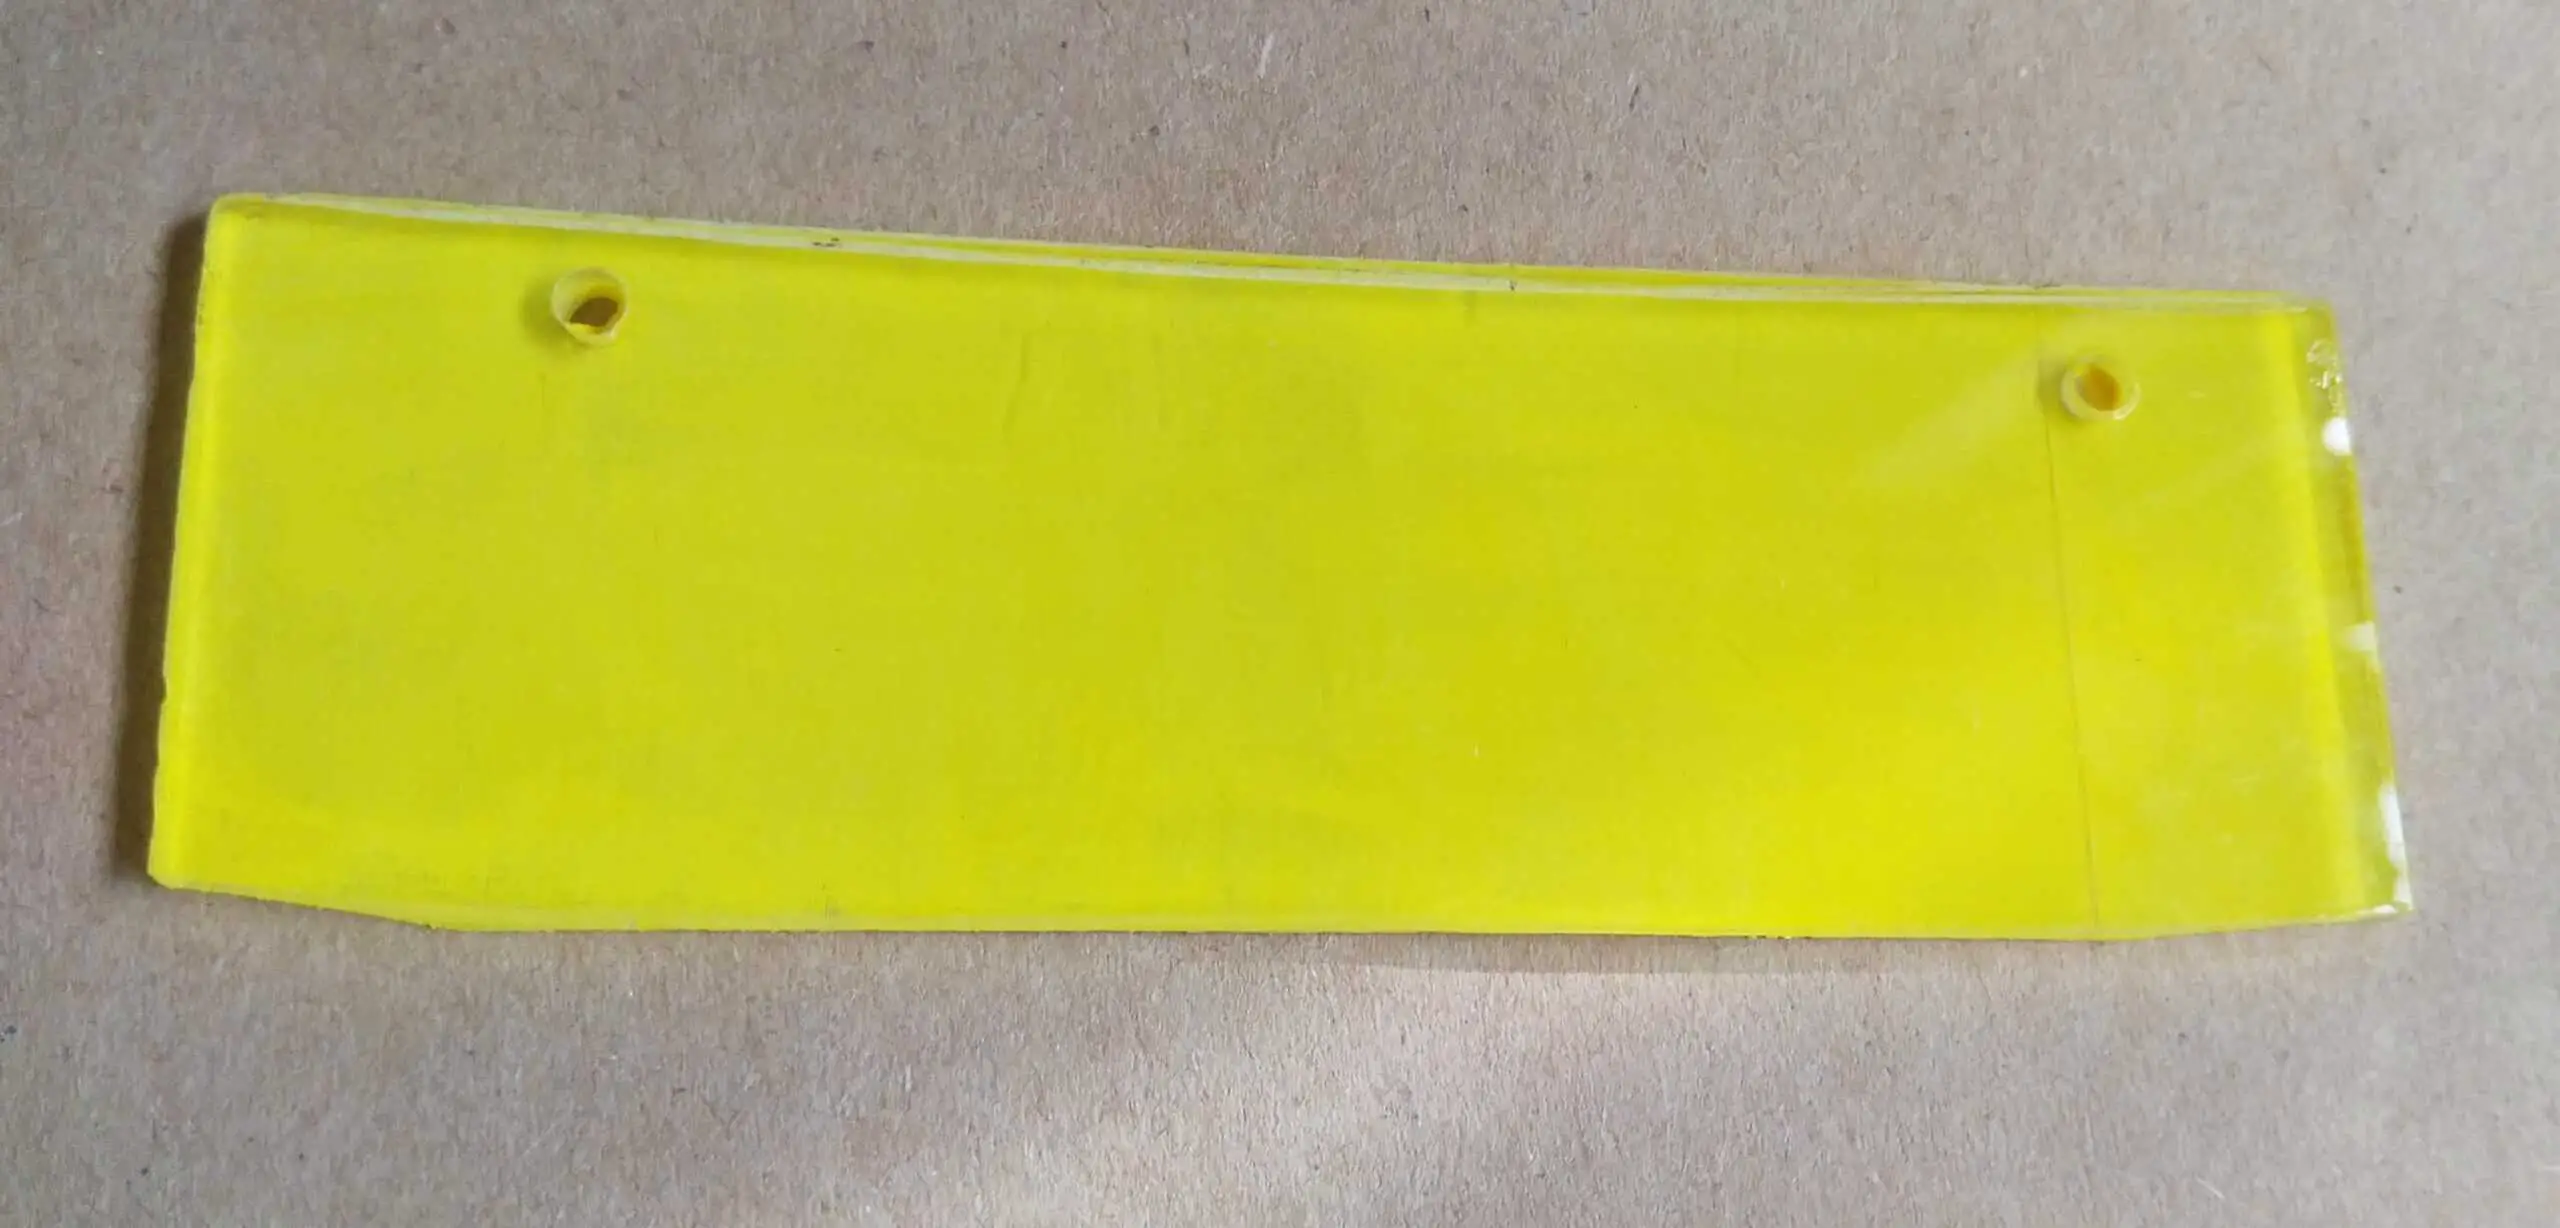
Now it is time to prime the acrylic plastic. For this, you can use two types of primers. They are acrylic medium and gesso. First, apply a coat of acrylic matte or gel medium onto the acrylic plastic. In this case, I have mixed my acrylic yellow color with the gel medium because I am planning to have the basecoat painting in yellow.
You can apply one or two coats of acrylic matte or gel medium. However. acrylic gel medium has the most adhesion compared to the acrylic matte medium. Let the acrylic medium dry for 1 hour in between the coats.


After the acrylic medium is completely dry you can apply acrylic gesso. If your artwork is opaque, apply acrylic white gesso. It will create an opaque white base for your artwork. If your artwork needs to be transparent then apply a clear gesso on top of the acrylic medium.
Applying acrylic medium first on the surface increases the adherence of acrylic gesso to the plastic panel. Now let the gesso primer and acrylic medium-dry overnight.
Step 4: Apply acrylic paint to the primed acrylic plastic
After drying the acrylic medium and gesso overnight, it is time to create your artwork on the acrylic plastic. If you want an opaque finishing I highly recommend using artist-grade acrylic paints. Student grade and craft grade acrylic paints generally create a transparent finishing.
The transparent finishing by the student or craft-grade acrylic paints can be streaky. But if you choose artist-grade acrylic paints you can obtain opaque rich colors with an even finishing without streaks. You can check this effect from the below image.
I have applied artist-grade cadmium yellow acrylic color. This opaque color gives a nice finishing with minimum streaks.

If you are creating reversible artwork, then using student grade or craft quality acrylic paint very thickly will also give an opaque finishing.
Step 5: Let the acrylic paint cure for 3-6 weeks
Curing is a very important process of sticking acrylic paint on acrylic plastic. After finishing painting with acrylics, let the artwork dry for 3 weeks before proceeding to varnish. If you have applied acrylic paint very thickly, curing the artwork for 6 weeks would be ideal.
When curing acrylic paint it is best to maintain the environmental condition. It is ideal to cure in temperatures between 70 to 90oF( 21oC to 32oC) and with relative humidity equal to or less than 75%.
Acrylic paint sticks to a surface the best when the paint is fully cured or fully dry. Curing is the last phase of the acrylic paint drying process. In this phase, all the water in the acrylic paint will be evaporated. The Acrylic paint film will be hardened and grabbed onto the surface well.
If the acrylic paint is not cured, the paint will have less adhesion to the acrylic plastic and can be peeled off upon scratching.
Step 6: Varnish the cured acrylic painting on acrylic plastic
After curing the acrylic paint for 3 to 6 weeks, you can finally varnish the painting. As the varnish, you can choose any artist varnishes. Depending on the finishing you can choose matte, gloss, or satin varnish.
Varnish will protect the art piece from dust, dirt, moisture, and other environmental factors and prevents peeling. It will also protect the artwork against sunlight (UV rays) and prevent yellowing over time.
Instead of varnish, you can also use an acrylic clear coating. You can find them in art stores or home improvement stores. The one I recommend is Krylon Crystal Clear acrylic coating (link to view on Blick Art Materials).
I have used semi-gloss varnish for my painted piece on acrylic plastic. Below you can see how it looks on the painted side and the reversed side.


In the below video you can see the final look of the varnished acrylic plastic piece after drying.
What kind of paint will stick to acrylic plastic?
Some paints stick to acrylic plastic other than acrylic paint. You can use spray paints that are made to use on multiple surfaces. The key is to use an industrial primer first before using the paint to ensure the adhesion to the surface. Below I have included examples of paint and primers you can use on acrylic plastic.
Primers: Rust-Oleum Specialty Plastic Brush-On Primer, KILZ Adhesion Primer
Paint: Rust-Oleum Universal Enamel Spray Paint, Krylon COLORmaxx Spray Paint, and Primer, Krylon Fusion All-In-One Spray Paint
Some of these paints and primers are enamels, oil-based, or acrylic-based. The primers and paints mentioned above can be used on any type of plastic and most other surfaces as well. However, it will be difficult to add details to the artwork with spray paints.
You can find more information about these products through the links I have provided to view them on Amazon.
If you want to check the step by step process of sticking acrylic paint on other plastic surfaces than acrylic plastic or plexiglass, you can read my article ‘5 Easy steps to stick acrylic paint on plastic to last long‘
I have written several articles on how to stick acrylic paint on metal, sticking acrylic paint on glass, and sticking acrylic paint on ceramic. You can find the detailed process of sticking acrylic paint on each surface in the article along with a video guide.
What does acrylic paint not stick to?
As acrylic paint is very versatile and can be used on any surface, you might wonder what surfaces it will not stick to.
Acrylic paint sticks to almost any surface with proper preparation and curing the paint for 3 – 6 weeks. Preparation steps should include removing wax, grease, or moisture and providing tooth to ensure proper adhesion. Sealing the paint prevents the paint from peeling off.
I have written a whole article about What surfaces will acrylic paint not stick to where I have experimented on different surfaces to check the adhesion of acrylic paint.
Conclusion
You can stick acrylic paint on acrylic plastic by following an easy set by step process. The most important things in this process are sanding or scuffing acrylic plastic to provide tooth and curing the acrylic paint. These steps will ensure proper adhesion of acrylic paint on acrylic plastic. Finally, seal the acrylic paint with a varnish or acrylic clear coating to prevent it from peeling.