You might want to put a nice little quote on a beautiful abstract painting. This quote can be easily transferred to the canvas with vinyl. Although it is a fairly easy project, some of us have problems with it.
There are two processes we can follow to stick vinyl to canvas. The first one is the regular way we stick vinyl to any surface. You can follow the second way if you find trouble doing it the first way. Following are the 5 easy steps on how to stick vinyl to a canvas painting.
Things you will need
Following are the things you will need to stick the vinyl sticker to a canvas painting of acrylics. I have also included links to great deals for these products on amazon.
| Item | Links to Amazon |
| Canvas | Acrylic paint set on Amazon |
| Acrylic paint | Acrylic paint set on Amazon |
| Acrylic medium or varnish | Liquitex BASICS Gloss Varnish on Amazon |
| Pair of scissors | Pair of scissors on Amazon |
| Ruler or a scraper | Scraper on Amazon |
| Vinyl stickers | Vinyl stickers on Amazon |
| Wide flat bush | Wide flat bush on Amazon |
| Acrylic paint brushes | Buy an acrylic paint set from Amazon |
I have recorded the whole process of sticking the vinyl to canvas acrylic painting as indicated in this article. It will be a great resource for you to follow along with me, throughout the process.
Step 1: Paint your background on a canvas and let it cure
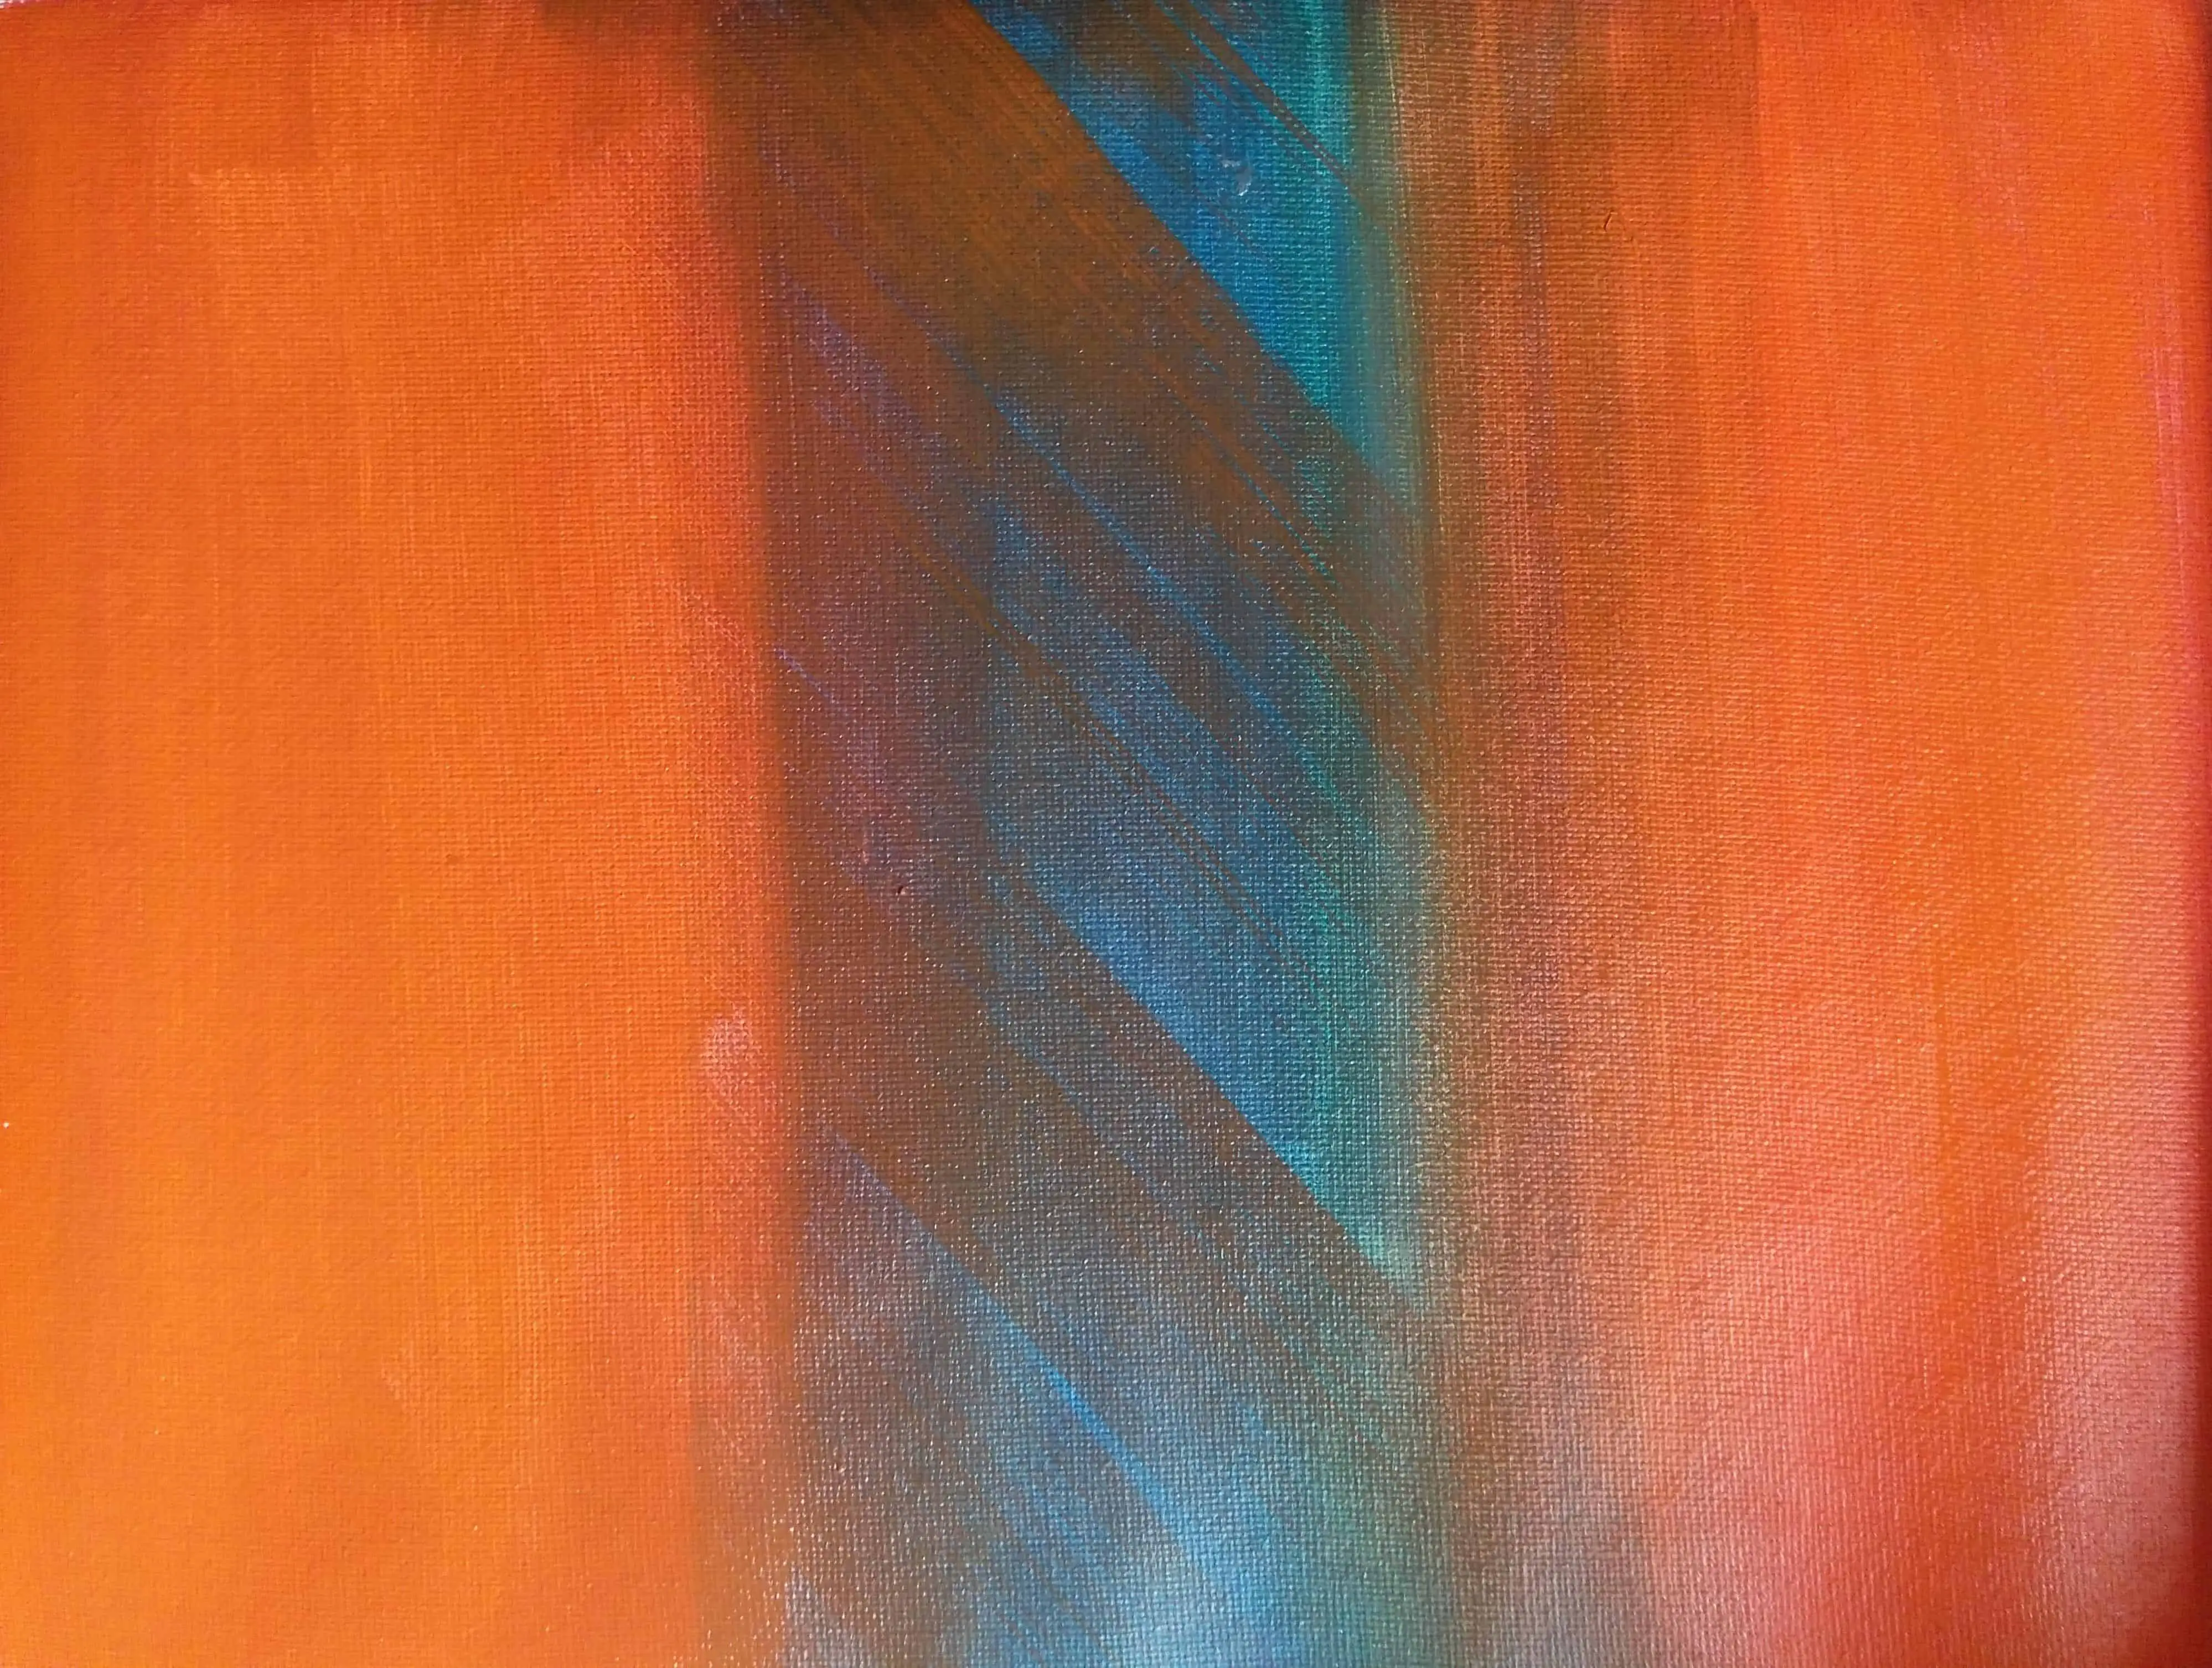
Take a canvas for acrylic painting and paint any background you want on it. This can be an abstract background, simple color blending, or plain color. You can use acrylic paint brushes, a wide flat brush, and acrylic paint for this.
After you have done the background painting with acrylic on a canvas, let it cure or fully dry for 1 to 3 weeks, especially if applied in thick layers. It helps to release any water trapped inside the paint film which helps the durability and adhesion of the paint to the surface.
As the painting background, you can use any abstract painting, acrylic pour art, or any painting you think is suitable. For this experiment, I used a very simple background that I thought was good for the quote. You can of course have a better background painting than this ;).
Step 2: Scrape the vinyl sticker well with a ruler or card
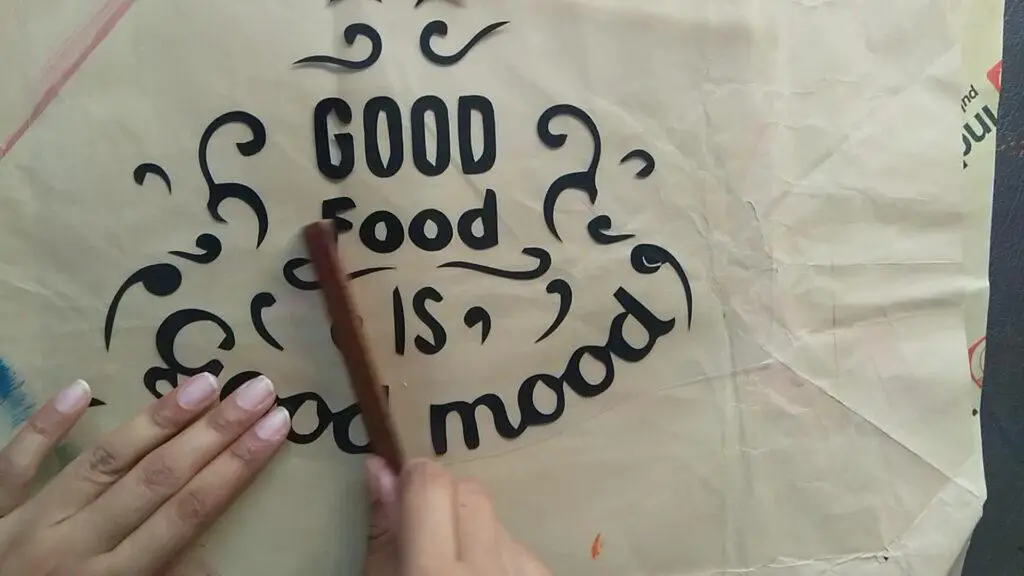
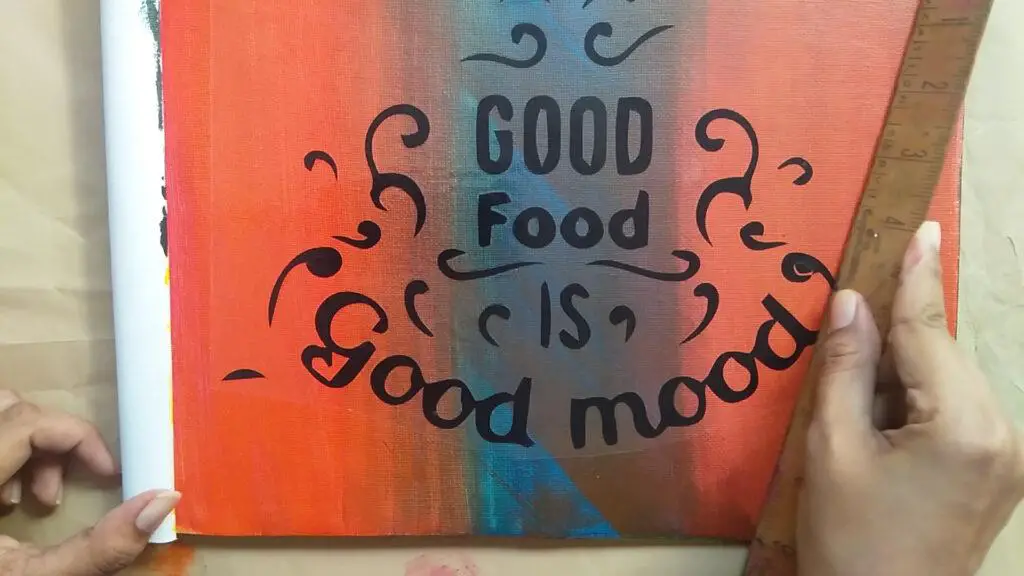
The vinyl sticker has two transparent parts. One is a sticky transfer vinyl and the other is a non-sticky paper. You need to have the vinyl on the sticky transfer vinyl paper. So scrape on the surface of the sticker to burnish the vinyl onto the transfer paper. You can use a scraper or ruler for this purpose.
Again you can watch the video to have a better understanding.
Step 3: Preplan where the vinyl is going to be
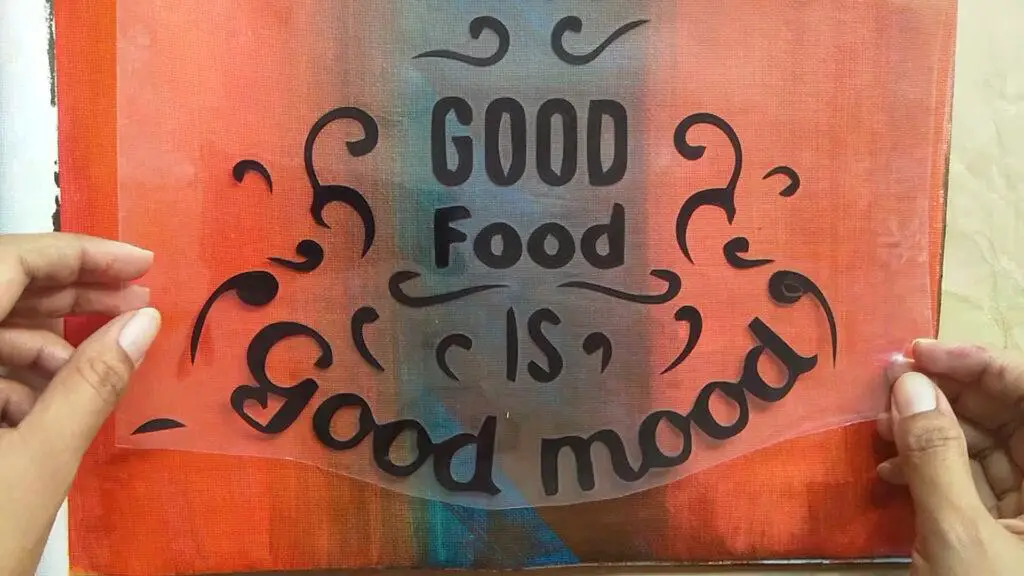
You need to decide where your vinyl going to be on the canvas before sticking them. Because there will be no way to pull off the vinyl once you stick it to the canvas or it can be difficult to do so. If the whole vinyl does not fit the canvas, cut it into pieces that fit the canvas. Decide the places of each piece.
After deciding the places, mark the places on the canvas with a piece of tape. This is optional. If you are going to stick one large piece of vinyl on canvas, rough measurements are okay.
Step 4: Transfer the vinyl onto the canvas
This step is an important one. Always test out your vinyl on the canvas first with a small piece. That way you can check if you can successfully transfer vinyl onto your surface without wasting vinyl stickers.
Now that you have marked the places where the vinyl is going to be, remove the transfer paper. When you are removing the transfer paper, some vinyl parts might not come off the transfer paper. In this case, repeat the 2nd step of scraping and burnishing vinyl onto the transfer paper. It will help transfer vinyl better.
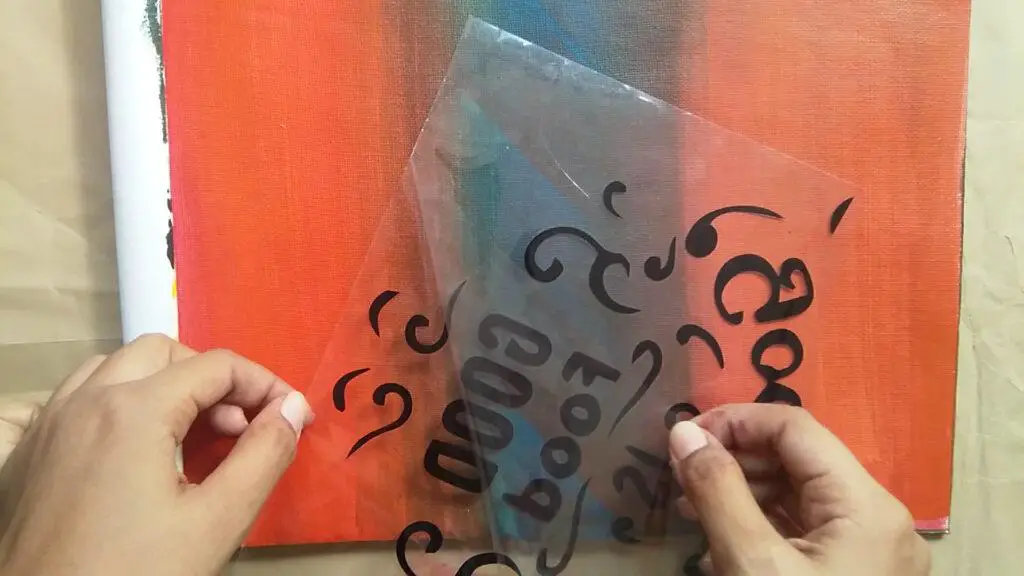
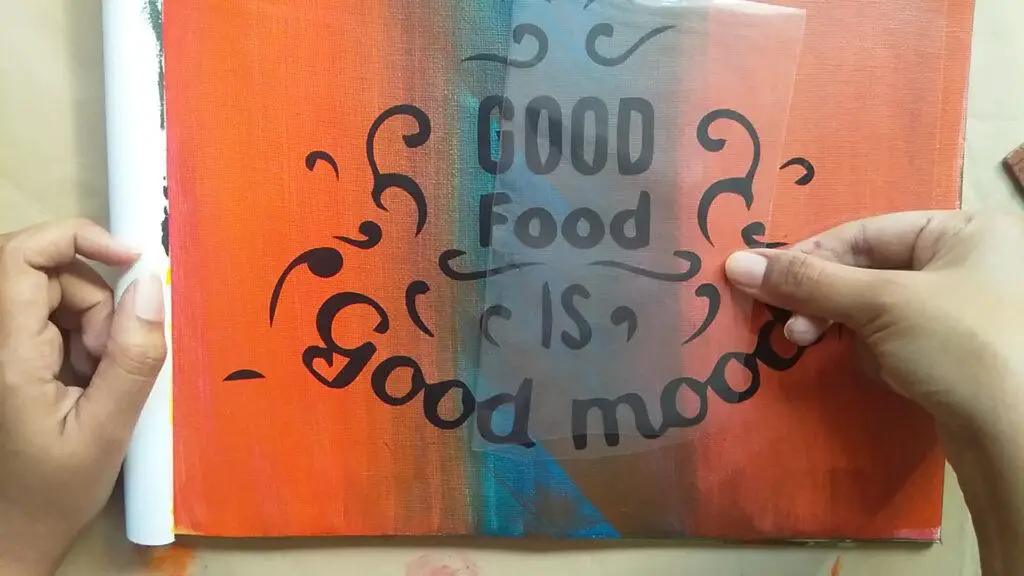
After getting the sticky transfer paper with vinyl, put it down on the canvas in the places you have preplanned. Be careful, the adhesive paper of vinyl will stick where ever it falls. However, canvas is more forgiving than vinyl. If vinyl paper fell in the wrong place, you can pull it away and stick it in the right place.
Take your scraper or ruler and scrape it on the top of the vinyl that is on the canvas to burnish the vinyl onto the canvas. After that, slowly pull the adhesive paper. This will cause the vinyl to transfer onto the canvas.
The adhesive paper will come off easily and transfer vinyl onto the canvas. If the vinyl starts to lift, lay back the adhesive paper and scrape the area again with a ruler or a scraper. Then pull back the adhesive paper again. It is easy to lay the adhesive paper over itself and pull it backward.
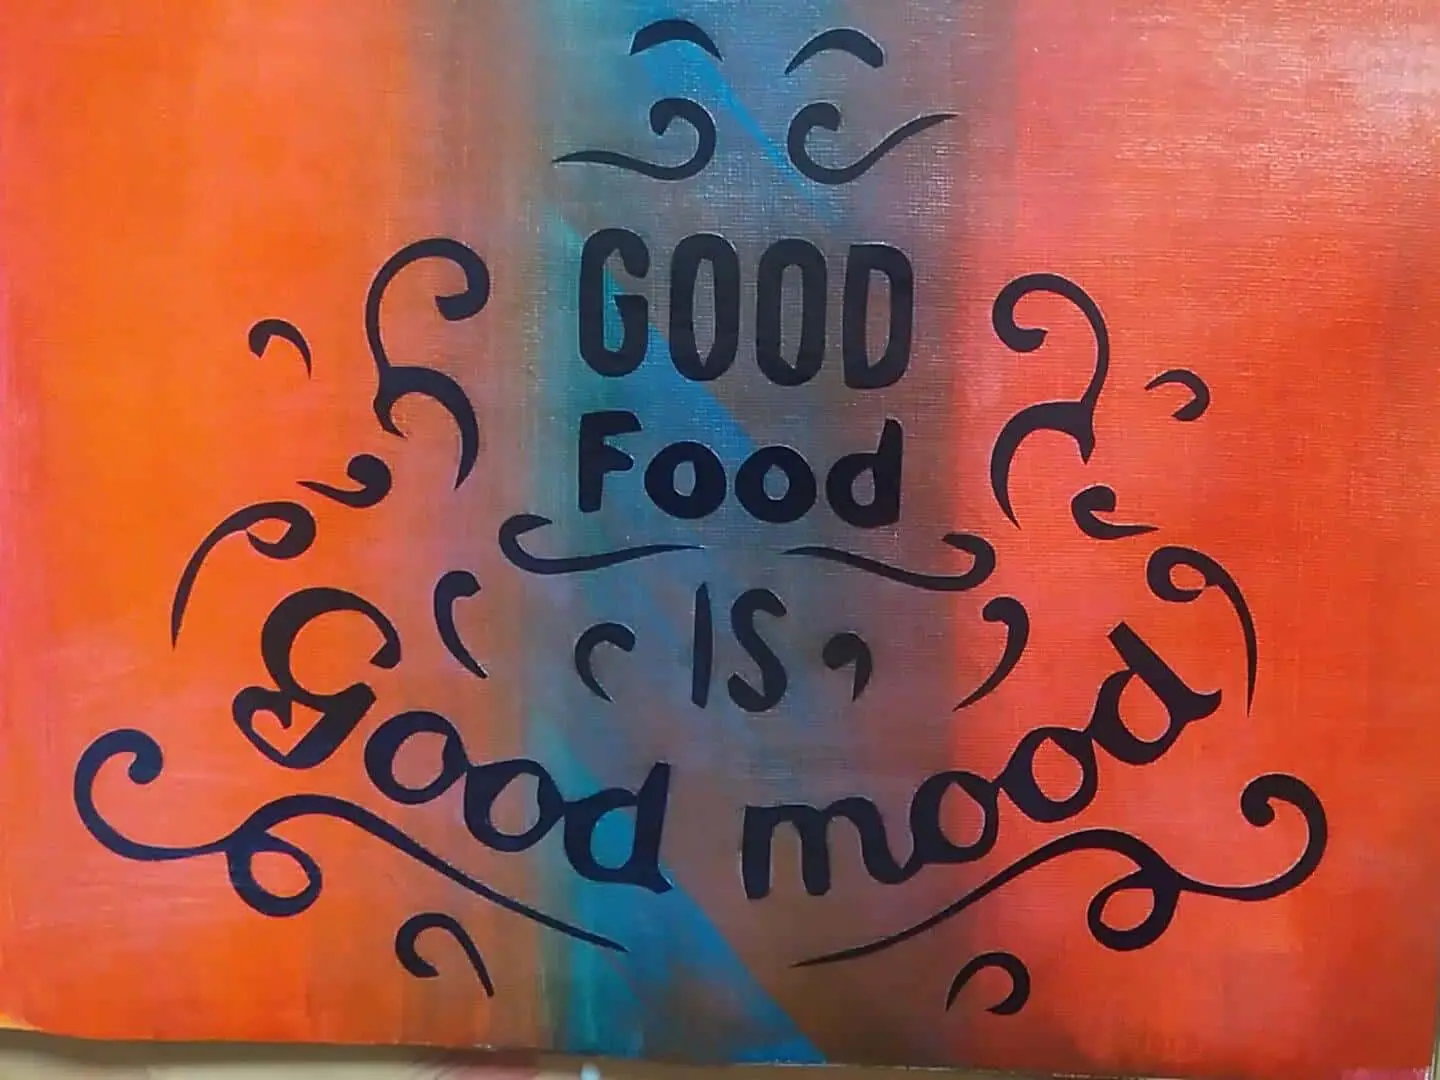
Remove the tape that is used to mark the places (if you have done that) as you are transferring each vinyl piece onto the canvas. Transfer all the pieces onto the canvas this way.
You can also take out any unnecessary vinyl pieces after transferring them onto the canvas.
Take your time while going through each step. Make sure you measure your vinyl pieces onto the canvas very well. Otherwise, your vinyl will be wasted.
If vinyl did not stick to the canvas with acrylic paint
If vinyl did not stick to the canvas with acrylic paint, try applying a layer of polyacrylic or any other sealer on the canvas before transferring vinyl. This might be the best option if you chose an acrylic pour for the vinyl background. It will ensure better adhesion of vinyl on canvas.
Use a flat wide brush to apply the sealer. Apply the topcoat once from left to right and the second coat from top to bottom. This way the painting will have better coverage. For a smoother finish, do not put much pressure on your brush. Smoothly do the brush strokes and cover the surface.
Make sure you do not apply a thick coat of polyacrylic. If applied thick, it can get crack and craze. It will also give a milky appearance and can reduce the vibrancy of the painting. It may cause bubbles and blisters.
Go over the edges and make sure there aren’t any polyacrylics on the sides. If there is it will dry and give a hazy look. Move your fingers through the edges and remove the sealer or polyacrylic.
Allow the sealer to cure completely. If not when the vinyl is transferred to the canvas, the paint might come off with the vinyl. Allow it to cure for at least two hours.
But in my case, vinyl stuck to the canvas either by applying sealer before or directly transferring it onto the canvas
Step 5: Varnish or seal the finished artwork
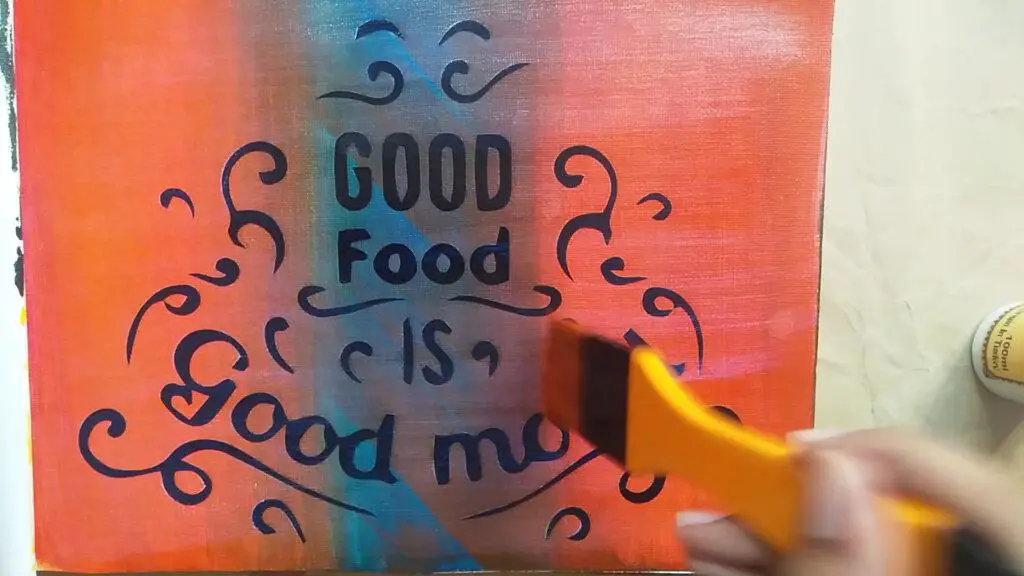
Now it is time to seal the vinyl on canvas. For this, you can use acrylic medium or varnish. You can also use polyacrylic or any other water-based sealer. It will help to blend vinyl with acrylic paint well. If you use a varnish or a lacquer spray to seal the painting, use the same product to seal the vinyl as well.
Make sure to use the same sealer that you used over the painting (if done before). If you seal the painting with polyacrylic, then you cannot seal the vinyl with lacquer spray. It will go underneath the polyacrylic layer and ruin your painting. Therefore use the same sealer everywhere.
Apply a thin layer of acrylic coating or sealant on top of the vinyl. You can apply several layers of acrylic medium, and varnish.
Sealing with resin will not be a good idea without a top coat on the vinyl. Because resin alone cannot seal the vinyl well. The resins can leak onto the vinyl and lift off the vinyl from the canvas. The best way to put resin on top will be after sealing the vinyl with a sealer like polyacrylic. Again, using resin is not necessary. Polycrylic or any other water-based varnish seals the painting and vinyl well.
I have also written an article about what acrylic paint will not stick to. You will know what to avoid when it comes to sticking acrylic paint. Also how to stick acrylic paint on many other surfaces and keep it off.
Conclusion
Sticking vinyl the right way onto your canvas can last a long for the vinyl and the painting. It is fairly easy to transfer vinyl onto the canvas of an acrylic painting, in most cases. You can do this process along with me by watching the above video. Coating the canvas with acrylic medium or varnish, polyacrylic, or any other sealant can bring vinyl and the painting together.
